How to License Influx and decode after 3 minutes
October 18th, 2021
In this article you'll learn how to access the Settings and License popup of Influx in order to license it and remove the trial limitations of 3 minutes !
Table of Contents
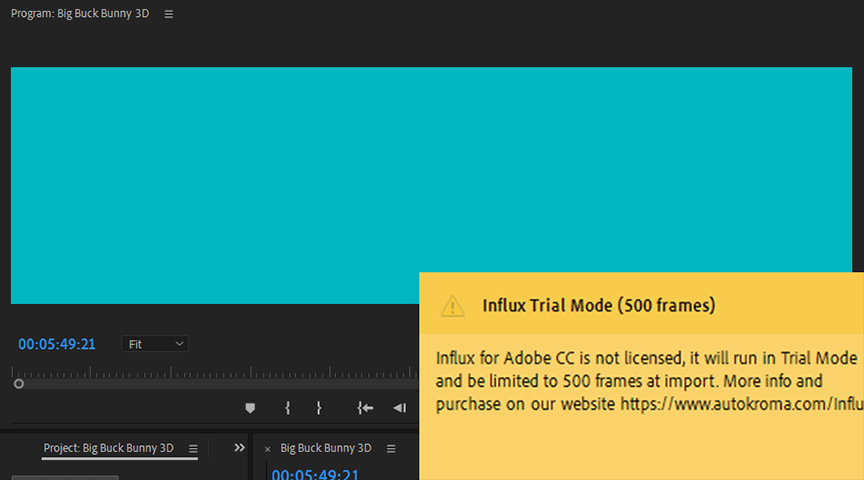
If you're seeing the trial image after 3 minutes in Premiere Pro / Media Encoder (1 minute for After Effects) in your files imported by Influx, then you're seeing Influx free trial limitation. Also, if your audio tracks are silenced after 3 minutes you are also running Influx free trial mode (unlicensed). The video will come back the first 10 seconds of every minute in the trial too, to let you see more of your imported video.
In order to remove the trial limitations, you need to both purchase a license, but then also need to enter the bought license key into Influx popup and restart your Adobe app. Here is the full tutorial how to do it :
How to Install
Here are the steps after downloading the plugin and testing the free trial :
Retrieve License after Purchase
The first step after purchasing Influx (All-in-one native importer for Adobe CC), or our other plugins like AfterCodecs, is to retrieve your license. If you bought it here on this website you should have received the code on the purchase confirmation page and by email ; for example it would look like this :
If you bought it on aescripts + aeplugins, a different reseller, please follow this article.
In order to remove the Influx 3 minutes import trial limit, you'll need to license it in the Settings popup : this is where you'll also find the Influx global settings (such as writing logs).
How to access the Settings and License
Once you have your license code, you need to enter it from the "Settings & License" popup :
- Premiere Pro : right click on a project item and click "Source Settings…"
- Media Encoder : right click on render queue item and click "Source Settings…"
- After Effects : right click on a project item -> "Interpret Footage" -> "Main…" and click the "More Options…" button at the bottom
You can also directly access the popup from the MediaCore folder where our Desktop app is located :
- On Windows
C:\Program Files\Adobe\Common\Plug-ins\7.0\MediaCore\Autokroma Influx\Influx.exe - On macOS
/Library/Application Support/Adobe/Common/Plug-ins/7.0/MediaCore/Autokroma Influx/Influx.app
How to License Influx
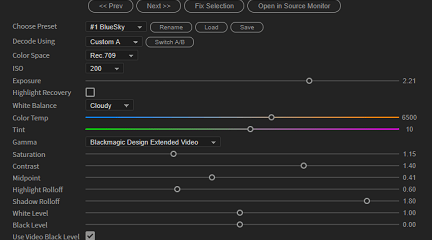
- In the Settings tab you can paste the license you copied at the first step. If you're on Mac macOS you can use the "Paste Clipboard" button because
COMMAND+Vis not working. - Click the Activate button. Please note you can enter any license for any Autokroma product here
- Click OK and restart your Adobe app and you shouldn't be in Trial mode anymore
- Please empty your Media Cachebecause you have the 3 minutes max trial image in the cache and silenced audio. You need to go start Premiere without loading any project, go into Premiere Pro's Preferences -> Media Cache -> Delete button on top -> 2nd radioDelete all media cache files from the system. More info here : How to clean (delete or trash) media cache files?
Tada ! Ater restarting you should now have full decoding of your files
The BRAW Studio Panel BRAW Settings tab
Our V2 update of BRAW Studio introduces a new tab of our panel to let you color grade in a more efficient way and with batch modifications to a selection of .BRAW !
Read more
PlumePack Options Explained
What are the PlumePack options ? You should get all information here !
Read more
PlumePack your Project with Proxies
How you can use PlumePack if you are working with Proxies in your project !
Read more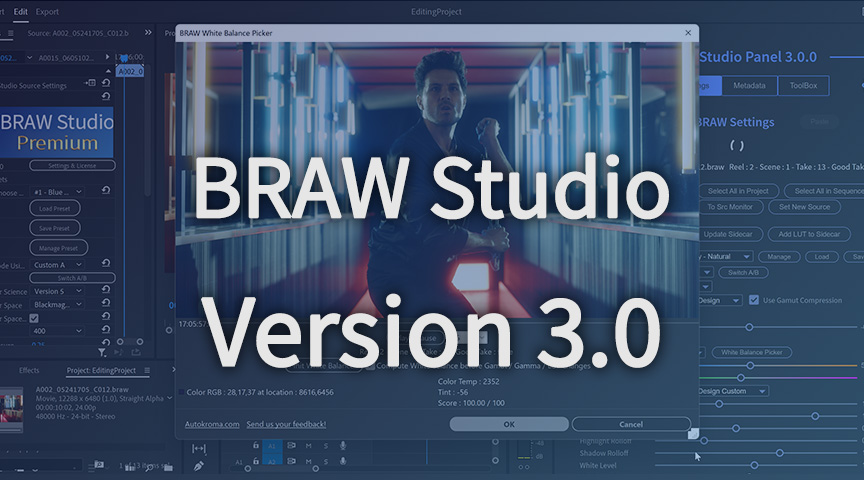
BRAW Studio Version 3 Upgrade
Learn about the new features of BRAW Studio V3 and the upgrading process
Read more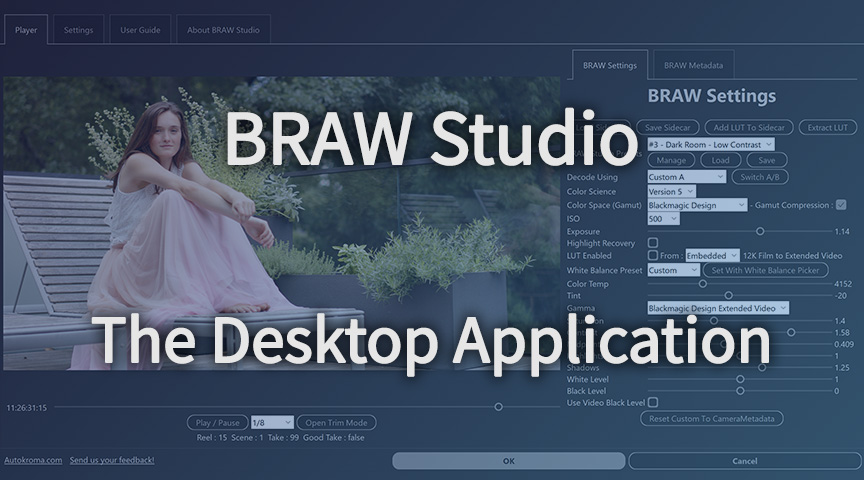
BRAW Studio App: A New Powerful Tool for BRAW Files
Details about the new BRAW Studio App: a BRAW Player where you can edit Settings, trim and more!
Read more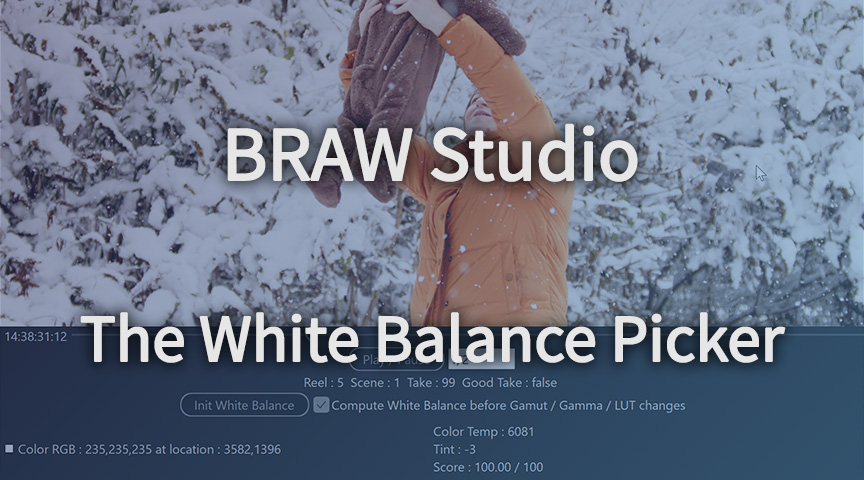
Fast Color Correct with the BRAW Studio White Balance Picker
Indicate the white/grey part in your BRAW image to set automatically Color Temperature and Tint accordingly !
Read more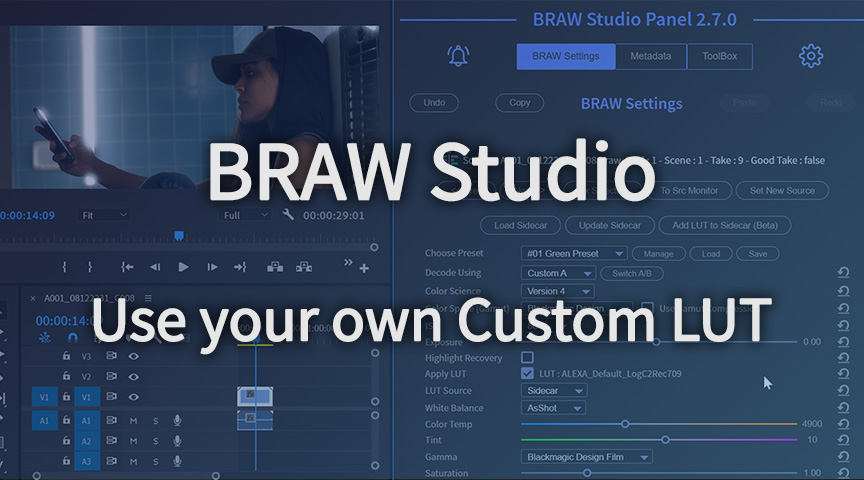
Apply your Custom LUT directly to BRAW
BRAW Studio now lets you apply your own custom LUT, processed through the official Blackmagic RAW SDK like an Embedded LUT ! Here is a quick tutorial to do so
Read more