The BRAW Studio Panel BRAW Settings tab
January 12th, 2024
(Originally published on May 22nd, 2020)
Our V2 update of BRAW Studio introduces a new tab of our panel to let you color grade in a more efficient way and with batch modifications to a selection of .BRAW !
Table of Contents
In Premiere Pro, The BRAW Studio Panel can give you real improvements in your workflow ! Let's see here why.
Note : If you are not familiar with BRAW Studio yet, check our introduction article !
A new interface inspired from Lumetri and auto-updated with the current Selection
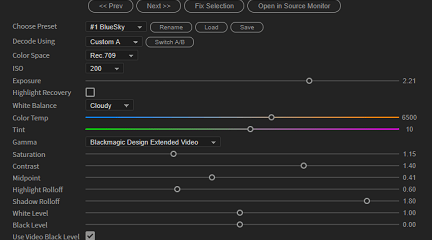
With its design which will remind you of the Lumetri Panel, the BRAW Studio Panel gives you controls over your
.BRAW Source Settings with a pleasant interface.No more need to click on the tab each time you decide to tweak your BRAW Settings. Just select your footage on your timeline or on the Project Panel and the BRAW Studio Panel interface will be automatically updated accordingly to the selected element.
Select Multiple Clips and Batch Apply your Changes
If you select many clips at the same time (from the timeline or the Project Panel), the panel will be in the Multi-Selection Mode.
You can find more info (including the new feature info!) about batch changing BRAW params in this other article.
Note : The following video is a bit old now but still up to date for Batch Applying Presets/Sidecar. Now there is a new feature to batch change a parameter directly in the same way you do for one clip.
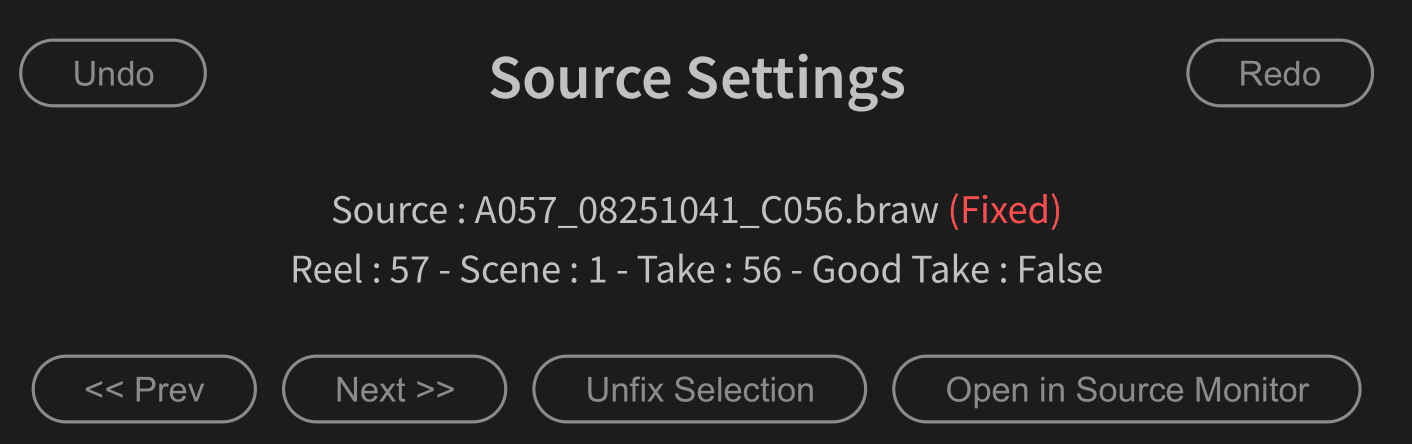
Next and Prev buttons : A quick way to crawl through the BRAW files on the timeline
During the color grading stage, you can use the Prev and Next buttons to grade your
.BRAW Sources one by one, following the time order on your timeline, without having to find the next Source to process.With this tool, you will be sure not to miss any
.BRAW files and therefore to improve your workflow by processing all your BRAW Sources faster.Set New Source button to give different color grades to the same .BRAW Source
The BRAW Settings are applied on the Source file, meaning a Project Item in Premiere Pro. If you have 2 or more clips in your timeline which come from the same Source/Project Item (for example, after cutting a clip with the Razor tool), both will be linked to the same Source file, and thus the same BRAW Settings. If you change the BRAW Settings of one of these clips, the other related ones will be affected.
In order to have different BRAW Settings for each clip on your timeline coming from the same
.BRAW Source, you would need to duplicate the Source file and replace the clip on your timeline. But the In/Out points of the initial cut clip would be lost, as well as its speed settings, scale, position, opacity and any effects on it.That's why we made this feature !
With the Set New Source button, you just need to select a clip on your timeline and click on the button. The original project file will be automatically duplicated without loosing any of its current settings (it will keep the same footage interpretation, parameters etc.). You can find this new project item on the Project Panel, in a new folder called BRAW_Studio_Items. The clip on the timeline will be re-assigned to this new project item (don't worry, the clip will also keep all of its settings : speed, position, opacity, effects etc.). You can now set the BRAW Settings for this clip without having other clips affected !Note : the file on disk will not be copied ! No symlink or alias will be created. Everything happens inside Premiere Pro.
Always Set New Source button to Automatically Set New Source
When clicking on the Always Set New Source button, you enter into a special mode. With that mode enabled, every time you change a BRAW Setting
on a selected Timeline clip
, the BRAW Studio Panel will check if this change could affect other timeline clip (because coming from the same .braw Project Item and so sharing the same Source Settings). In such case, before applying the change, the Project Item will be duplicated, making a new source
, and so you will be sure to apply your change ONLY on the selected .braw timeline clip. Note that it also works when changing settings from a multiple selection !To sum up, it's the same than the "Set New Source" button, but through an automatic mode. When the mode will be enabled, the button will become blue (see image below).
Trim your BRAW file
You can trim a BRAW file from the BRAW Studio Panel. Check this article for more information.
Export a BRAW Frame
Exporting a frame as a BRAW file can be handy for some workflow, for discussing about different ways to grade a BRAW footage for example. Especially because you can save the BRAW Settings in a sidecar file next to the BRAW frame file. So for example if you receive a BRAW frame, you can change the exposure inside the sidecar and see how it would look like.
You can export a BRAW Frame directly inside the BRAW Studio Panel, at the bottom of the Source Settings. The exported frame number will be the one selected by the Source Monitor cursor (see image below).
The current Source Settings set to the file will be automatically exported as a Sidecar next to the BRAW frame. If a sidecar was present next to the original file, the values will be baked into the file so in the "Camera Metadata" values.
Note : by clicking on "To Src Monitor", on the top of the Source Settings Panel button, you will open the current selected BRAW file in the Source Monitor : it will be easy then to select the BRAW frame you want to export.
Apply a custom LUT directly to your BRAW Clip
If you have custom LUT and want to apply it to a BRAW file, the best way is to use the Blackmagic RAW decoder, which will give you the best quality.
With BRAW Studio we implemented a way to do this through the sidecar file, and you just need to click on a button to do this ! Read this article to know how !
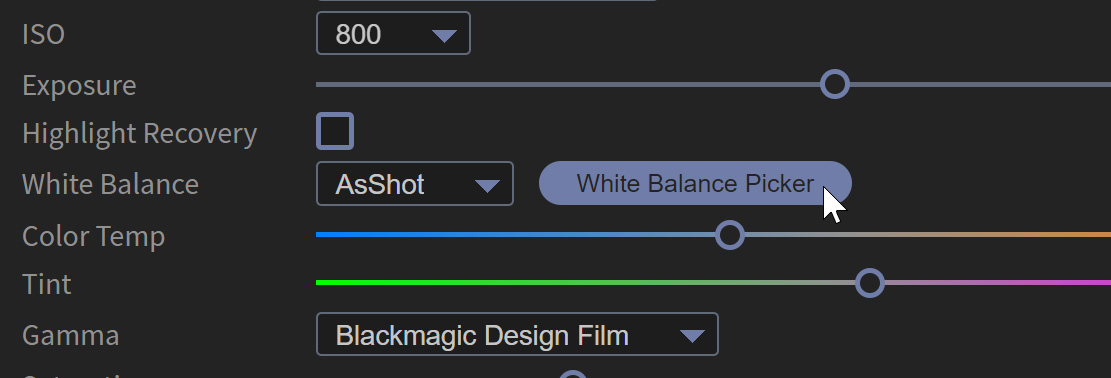
Get an accurate and quick White Balance with the White Balance Picker
From BRAW Studio V3, there is a new tool to automatically compute White Balance Settings (Color Temperature and Tint) from a picked pixel by the user (selecting a white/grey area in the BRAW footage).
More information about this tool in this article.
Other Features
Freeze Selection
By clicking on the Freeze Selection button, the BRAW Studio Panel will not be updated when you highlight another Source on the timeline or Project Panel anymore.
So it can be useful if you want to let the current selection in the panel "Freezed" and not change it when you are working on your timeline.
Note that the Prev and Next buttons can still be used.
Proxy Warning
Some users have been troubled when grading
.BRAW Sources and using proxies. Indeed, once the proxy is created, the BRAW Settings will have no effects on it. You will need to tweak the BRAW Settings of the original Source (see the changes by disabling proxies) and then to export the proxy once again with the color grade changes.For this little issue, if the selected
.BRAW on the panel has a proxy attached to it and the proxies are activated, you will see a this red message to warn you !
When seeing this red (Proxy!) message, you should turn proxies off if you want to change the BRAW Settings.
Change Slider Values with precision
If you maintain the Shift key of your keyboard, sliders will move slowly so you can better set slight change to it !
A better Color Temp slider
The color temperature slider was not pleasant to work with, because a change in the range [2k - 10k] has more visual impact than a change in the range [10k - 50k]. With the BRAW Settings tab, we have changed this behavior and you should get a better feeling when using this slider.
Undo / Redo on Panel
It was impossible to connect our Undo stack to the global Premiere Pro Undo stack, so they are not related.
You will find the 2 buttons (Undo and Redo) at the top of our panel.
From BRAW Studio V3, you can use the shortcut Ctrl + Z for the "Panel Undo" (and add Shift for Redo) : it has the same effect than using the buttons.
Note : the panel must be selected first (surrounded by a light blue line), otherwise it will be applied to your previous action in Premiere Pro
Copy / Paste Settings on Panel
Copy / Paste can also be quickly done from the panel.
You will find the 2 buttons (Copy and Paste) at the top of our panel.
From BRAW Studio V3, you can use the shortcut Ctrl + C for "Copy" and Ctrl + V for "Paste": it has the same effect than using the buttons.
Note : the panel must be selected first ! (surrounded by a light blue line), otherwise it will be applied to your previous action in Premiere Pro
Install, Licenses
How to install / update to BRAW Studio v2
In order to install (or update to) BRAW Studio V2, you just need to download and install the software with our installer.
You can find the BRAW Studio Panel at the top menu, under Window > Extensions.
License
If you have already a license for BRAW Studio V1, please read this article to know how to upgrade to a Version 2 license.
Without a valid license for BRAW Studio V2, the panel will be in "Trial Mode". Five minutes after your first change in the BRAW Settings tab, it will become disabled and you will need to restart Premiere Pro if you want to continue to test it.
Note that some of the features in the panel can't be tested with the TRIAL Mode. If you really need to test those features before buying a license, please contact us.
Advanced Tips and Warning
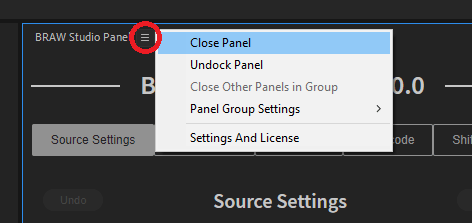
Restarting the Panel if You Have a Bug
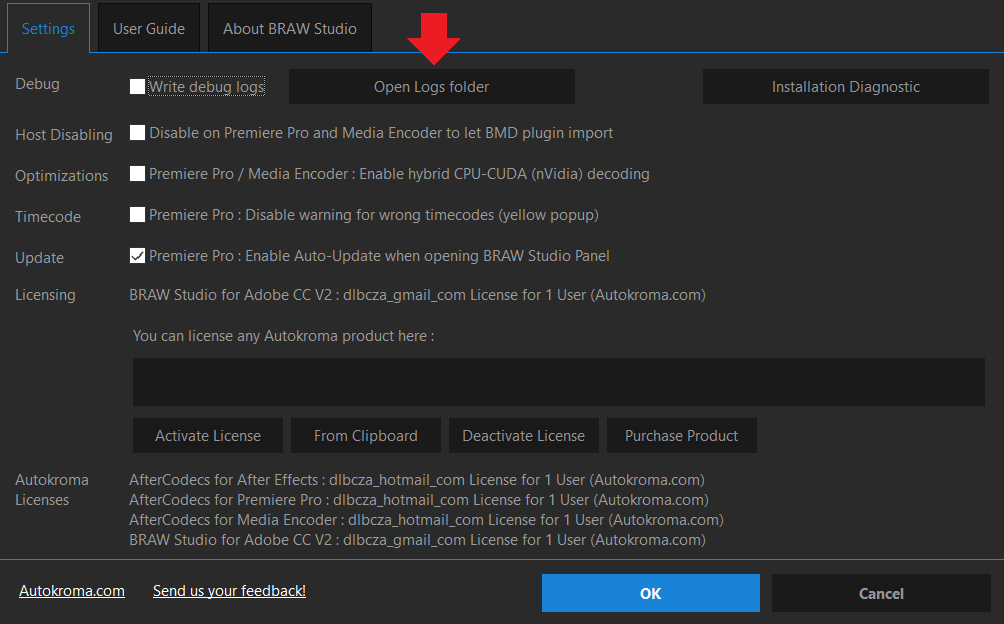
If you find a bug, please send us the logs by scrolling down the panel, clicking on Settings & License at the bottom and ticking the Write debug logs box on the app screen. Then reproduce your error and return to the app screen to click on Open Logs Folder.

Otherwise, restarting the panel might solve your current problem. For that, no need to restart Premiere Pro. You just need to close the panel (see picture below) and relaunch it going to Window > Extensions.
Using BRAW Settings on the BRAW Studio Panel and from the Effect Controls tab
You should be able to use BRAW Settings in Effect Controls tab and the BRAW Studio Panel in the same session without any problems (one time one, one time the other).
However, even if we tested it, we advise you to stay with the same controls to have the best experience possible : if you start changing params from the BRAW Studio Panel, then continue with it!
Project Save Indication
PPro doesn't change the top title to add a "*" inside (indicating that the project is not saved) after you changed a setting in the panel.
Don't worry : if you save your project, the change will be saved, but you should not trust this indication and save your project even if you don't see this "*" in the title.
Smoothness of the image update while dragging a slider in the BRAW Studio Panel
- If you see the image in the "Source Monitor" instead of "Program Monitor", it should be a a little bit smoother. You can easily put the current selected BRAW in Source Monitor by clicking on the "To Src Monitor" button.
- If you have the "Effect Controls" panel opened, clicking on the "To Src Monitor" button will also reveal the "BRAW Studio Source Settings" effect. If you change the slider from this effect on the Source Monitor, it will be again a little bit smoother than in the panel.
We want your feedback !
Do you like this new panel ? Is it helpful in your daily workflow ? What feature should we add to it ? Please send us your feedback !
BRAW Studio for After Effects is available now
Learn the basics of color grading Blackmagic RAW (.braw) in After Effects !
Read more
PlumePack Options Explained
What are the PlumePack options ? You should get all information here !
Read more
PlumePack your Project with Proxies
How you can use PlumePack if you are working with Proxies in your project !
Read more
BRAW Studio Version 3 Upgrade
Learn about the new features of BRAW Studio V3 and the upgrading process
Read more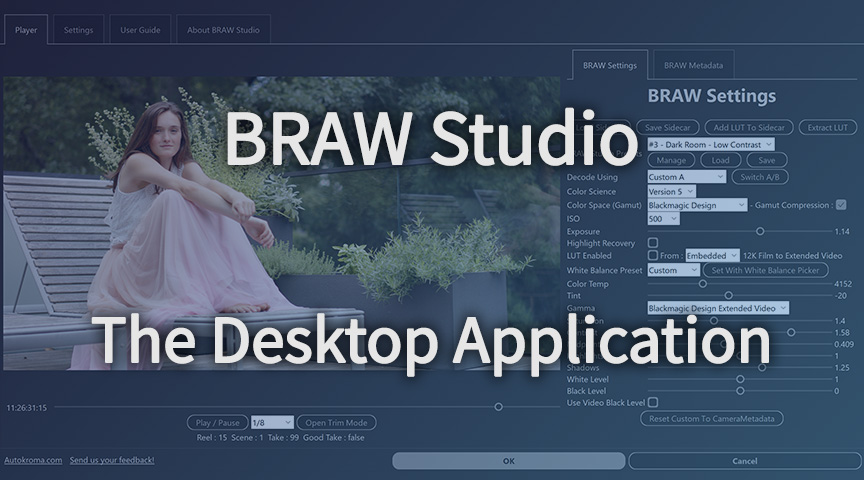
BRAW Studio App: A New Powerful Tool for BRAW Files
Details about the new BRAW Studio App: a BRAW Player where you can edit Settings, trim and more!
Read more
Fast Color Correct with the BRAW Studio White Balance Picker
Indicate the white/grey part in your BRAW image to set automatically Color Temperature and Tint accordingly !
Read more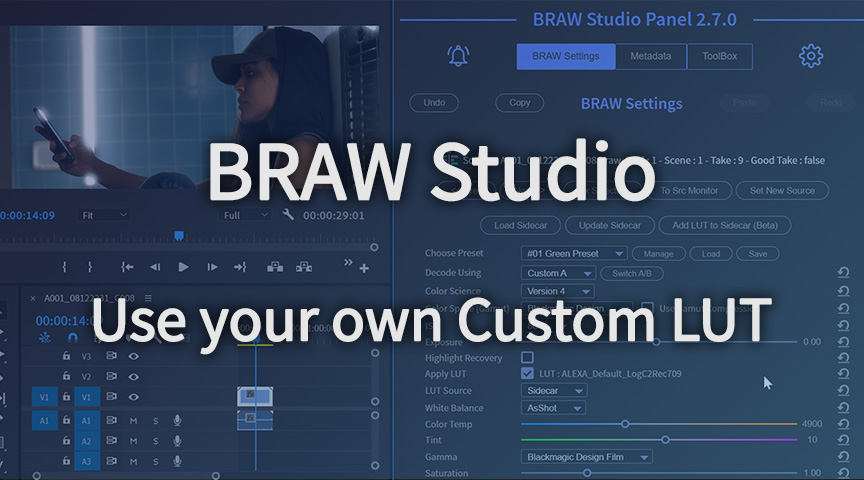
Apply your Custom LUT directly to BRAW
BRAW Studio now lets you apply your own custom LUT, processed through the official Blackmagic RAW SDK like an Embedded LUT ! Here is a quick tutorial to do so
Read more