BRAW Studio Settings & License Popup
June 28th, 2020
The BRAW Studio Settings & License Popup is the place where you will register your license and change the global settings of BRAW Studio
Table of Contents
What is it for ?
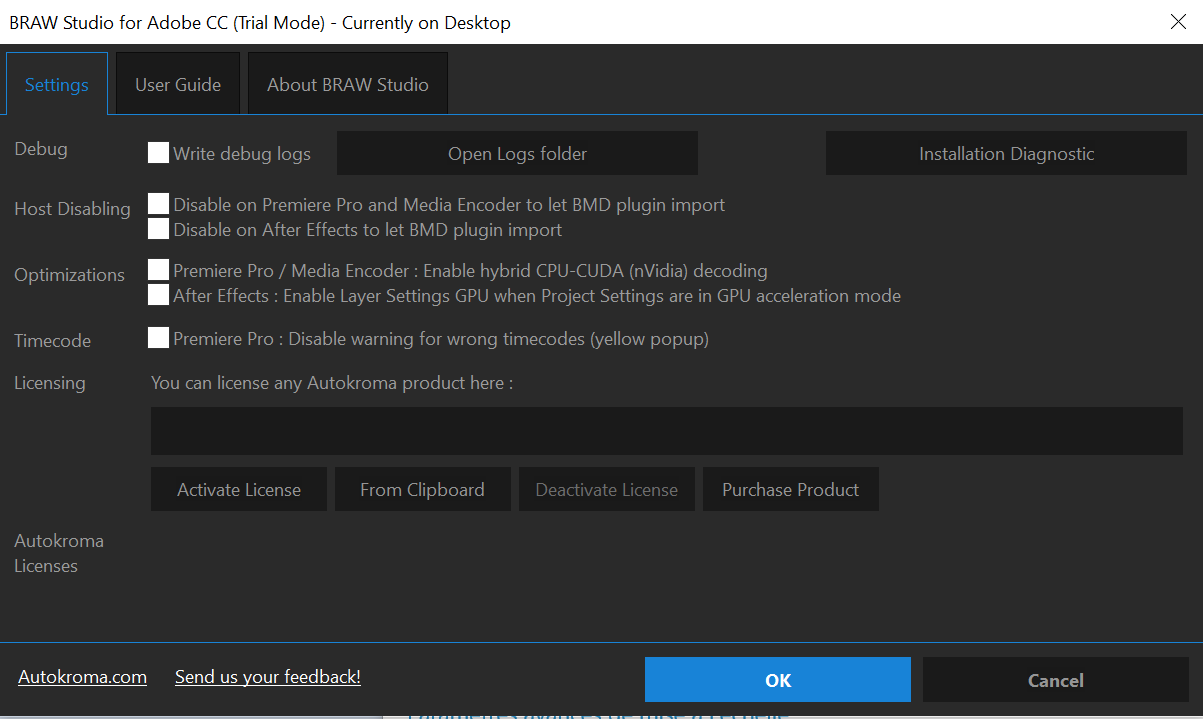
As indicated in its name, the "Settings & License" Popup need to be used for registering your BRAW Studio license or to change some of your BRAW Studio options.
You will also need it to activate debug logs and send us bug reports. There is an "Installation Diagnostic" button which will check if everything has been well installed in your computer.
Note that it is the same than the BRAW Studio Desktop Application : a BRAW player with BRAW Settings, Trim Tool, Custom LUT and more features. The "Settings & License" Popup corresponds to the second tab in this application !
There are different ways to open the BRAW Studio Settings & License popup, but any of those will let you register any Autokroma License.
If you want all the options to be displayed in the popup, you should open it from the BRAW Studio application, because otherwise only the concerned options will be available : if you open the popup from Premiere Pro for example, the After Effects options will not be displayed.
Don't forget to click on "Ok"
at the end when closing the popup if you want to save your change, and restart your Adobe applications (after registering license or changing an option).How to open it ?
The BRAW Studio application
From here, you will get all the BRAW Studio options available.
You just need to double click on the
BRAW_Studio.exe (BRAW_Studio.app on Mac) which is located in the MediaCore folder, next to the BRAW Studio plugins :- Windows :
C:\Program Files\Adobe\Common\Plug-ins\7.0\MediaCore\Autokroma BRAW Studio - Mac :
/Library/Application Support/Adobe/Common/Plug-ins/7.0/MediaCore/Autokroma BRAW Studio
Note : you can also select "Open With" and select "BRAW Studio" on any BRAW file !
In Premiere Pro
From the BRAW Studio Panel
In Premiere Pro, you can use the BRAW Studio panel :
- Open the Panel : In the top Menu bar, click on "Window" -> "Extensions" -> "BRAW Studio Panel"
- At the bottom of the Panel, click on the "Settings & License" button
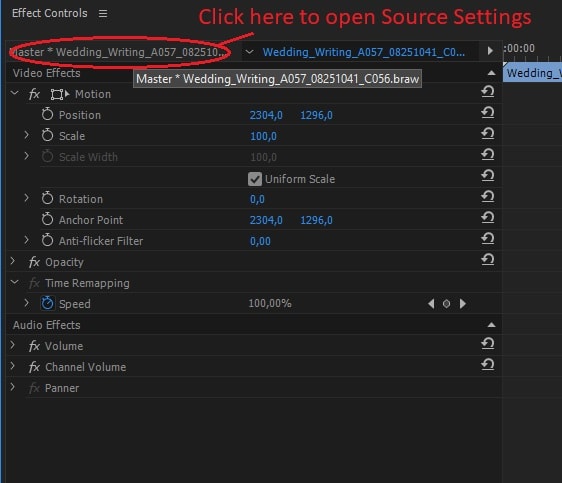
From the Source Settings Effect
You can also access it from any BRAW Source Settings :
- Import a .BRAW file
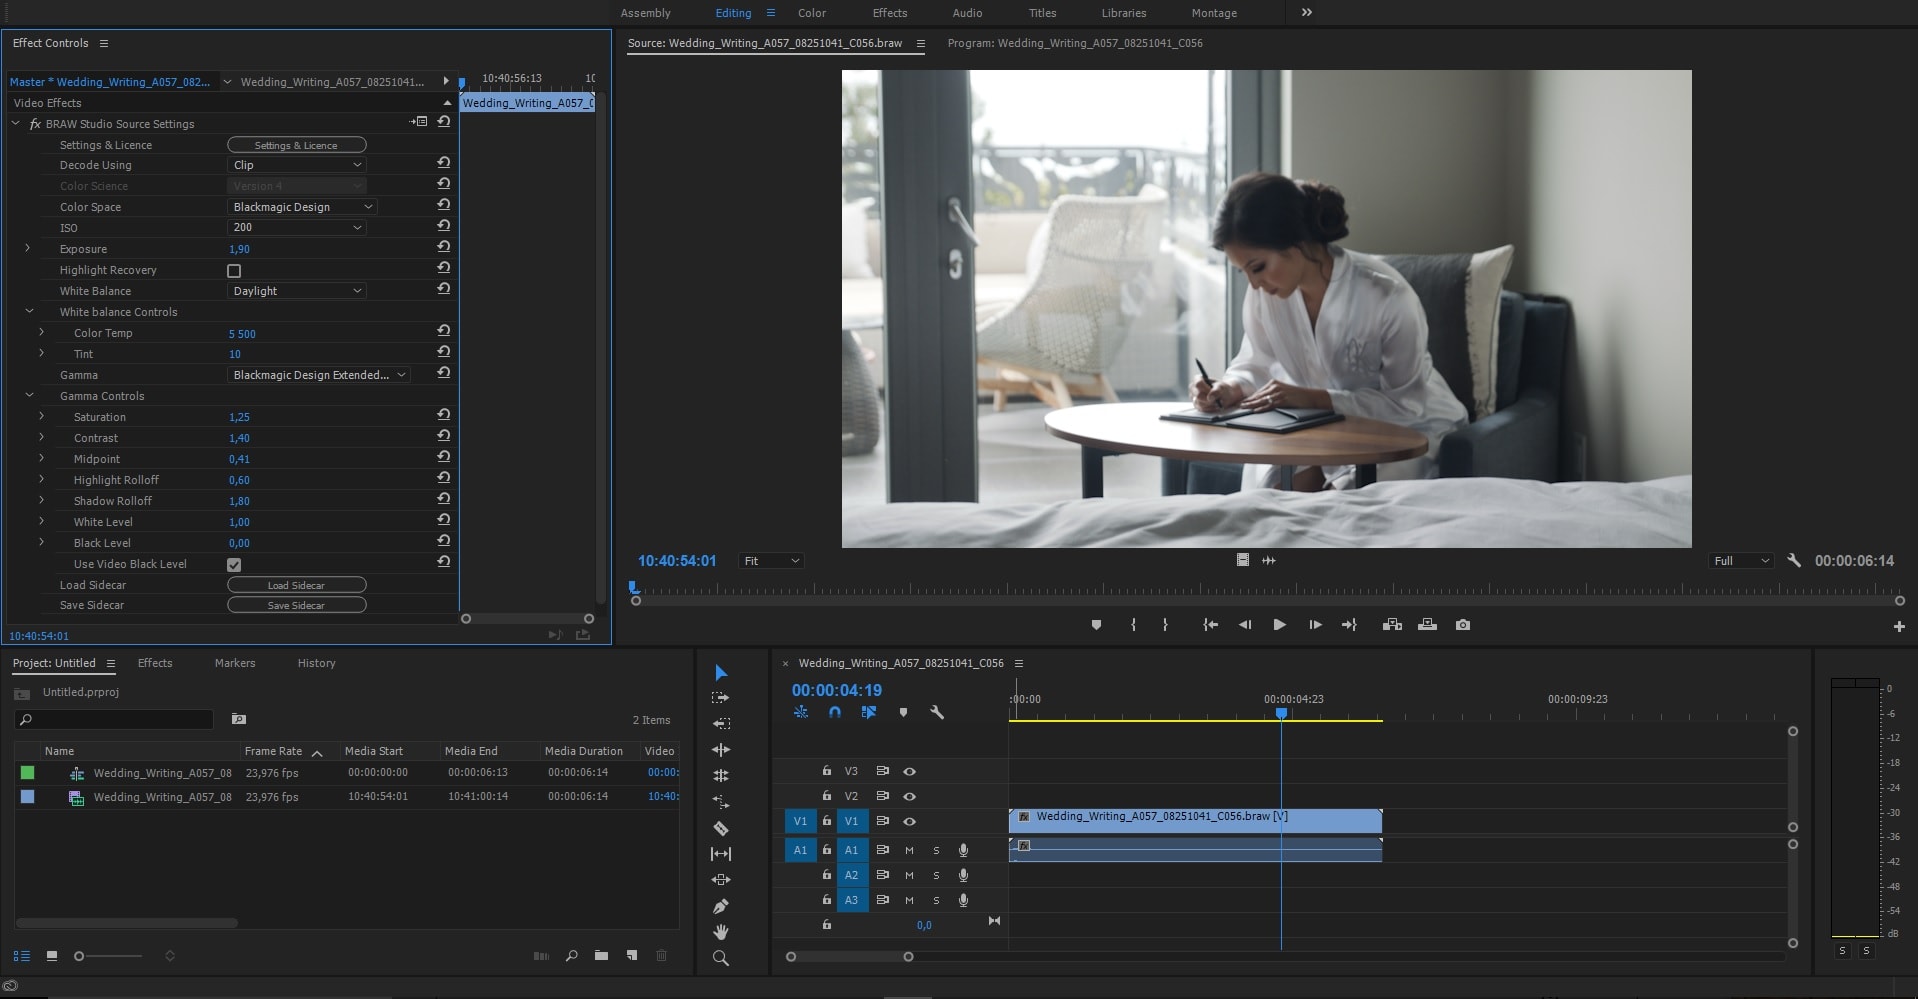
- Open the BRAW Studio Source Settings: add the new clip to a timeline (or create a new sequence from the clip and open the new timeline created), then go to Effects Options panel, and you will see two tabs at the top. Source Settings will be the first tab prefixed "Master".
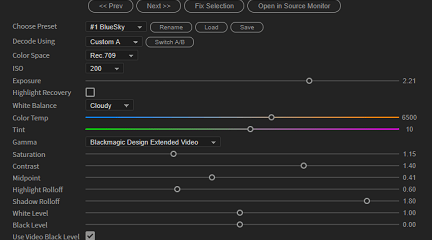
 This is where you'll be able to change all the RAW import parameters for your .BRAW clips and change the way they are interpreted by BRAW Studio
 - In the BRAW Studio Source Settings, just click on the "Settings & License" button
In Media Encoder
In Adobe Media Encoder, all you have to do is import a
.BRAW file into your render queue
, click right and select "Source Settings..." and the same BRAW Studio Settings popup will be displayed (see image above). Please note that it won't work with a PPro project, only for a .BRAW file.In After Effects
Please read our article about BRAW Studio for After Effects to learn how to access the Layer Settings as well as the Settings & License button.
You can also access the Popup by going into the Interpretation of your
.braw and clicking "More Options".The BRAW Studio options
Optimizations
You will also find some performance optimization options. It could improve your BRAW Studio performance, depending on your hardware setup.
Just try these options and see in your computer the difference ! You can enable the "Premiere Pro Dog Ears" to have some indications about the render engine's performance.
In order to enable/disable these "Dog Ears" (Premiere Pro feature), just use the shortcut :
Ctrl + Shift + F11
(or Cmd + Shift + F11
in OSX), then press SPACE to play your timeline with the information about the playback performance. Use the same shortcut to disable the messages.Timecode Warning
If you are working with NTSC BRAW files (framerate 23.97 or 29.97), sometimes your timecode will be wrong in Premiere Pro. See our article about having a wrong BRAW timecode in Premiere Pro.
It can be good to know for some users if their timecode is good or not after import. However some don't care about it. We are displaying a yellow warning popup after import to warn about this wrong timecode. If you think this yellow popup is annoying, you can use this option to disable it.
The BRAW Studio Panel BRAW Settings tab
Our V2 update of BRAW Studio introduces a new tab of our panel to let you color grade in a more efficient way and with batch modifications to a selection of .BRAW !
Read more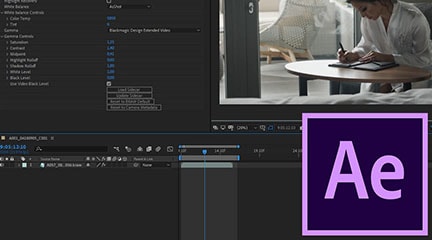
BRAW Studio for After Effects is available now
Learn the basics of color grading Blackmagic RAW (.braw) in After Effects !
Read more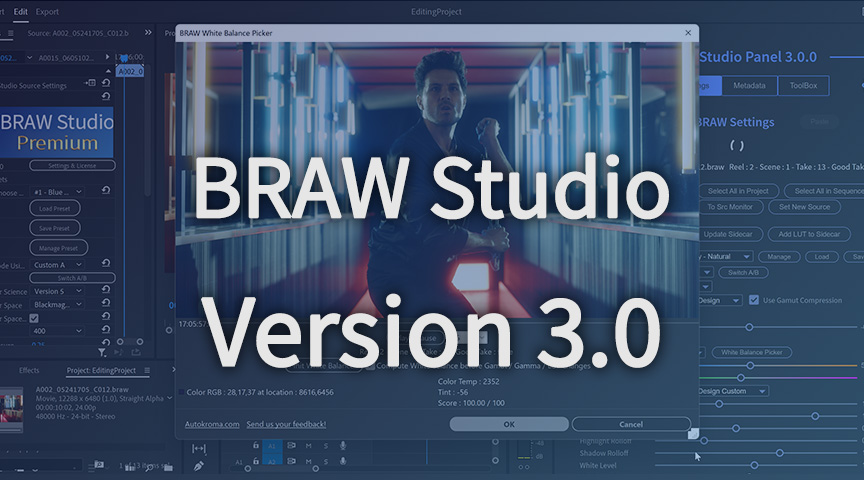
BRAW Studio Version 3 Upgrade
Learn about the new features of BRAW Studio V3 and the upgrading process
Read more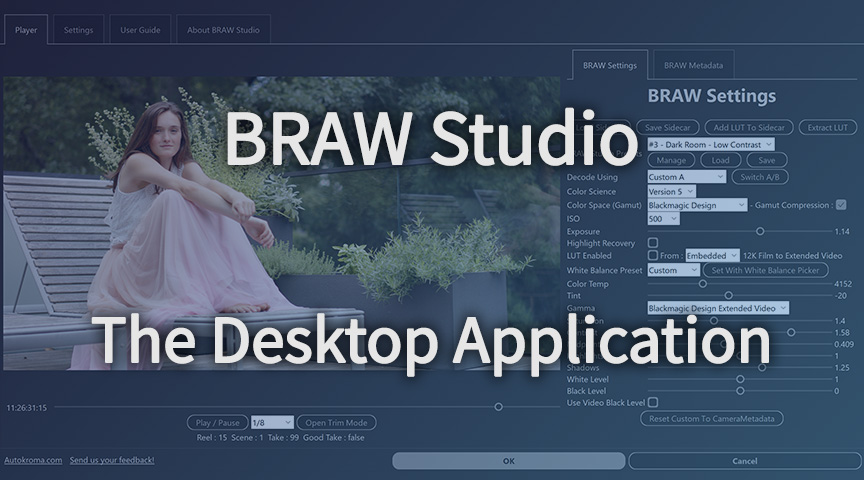
BRAW Studio App: A New Powerful Tool for BRAW Files
Details about the new BRAW Studio App: a BRAW Player where you can edit Settings, trim and more!
Read more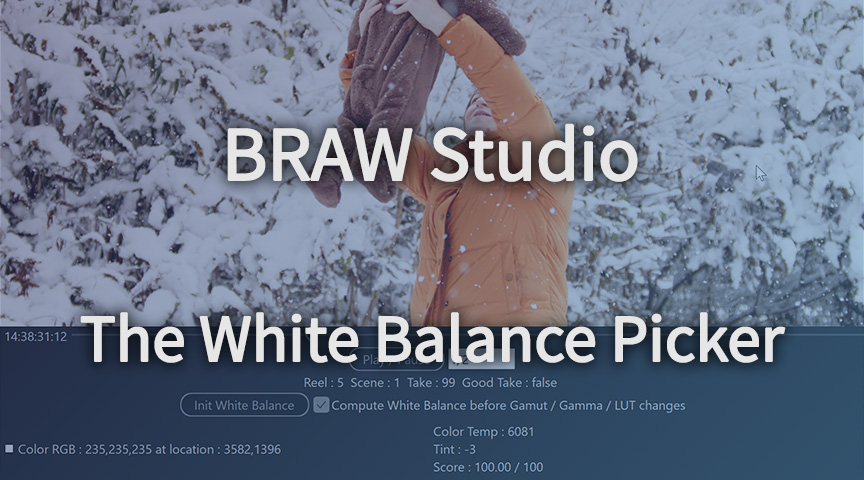
Fast Color Correct with the BRAW Studio White Balance Picker
Indicate the white/grey part in your BRAW image to set automatically Color Temperature and Tint accordingly !
Read more